Connecting a printer to your laptop via Ethernet cable without a router might seem tricky, but it’s quite simple once you know the right steps.
To connect a printer via laptop Ethernet cable without a router, plug the Ethernet cable from your laptop, manually set the printer’s IP address, and configure the network settings for direct printing.
In this guide, we’ll walk you through the process step by step, helping you avoid common mistakes and ensure your printer works seamlessly. You’ll be able to set up your printer quickly and start printing easily—no router required! Let’s dive in.
Understanding How To Connect Printer Via Ethernet Cable Without Router
Connecting your printer directly to your laptop with an Ethernet cable is simple. It doesn’t need Wi-Fi or a router. Instead, you create a direct link by plugging the cable into both devices and setting up the printer on your laptop for smooth, reliable printing.
Why Use An Ethernet Cable For Printing?
Ethernet cables offer fast, stable connections, perfect for printing large files without delays. Unlike Wi-Fi, they avoid connection drops and interference, ensuring reliable performance.
This method is secure and ideal for environments needing dependable, one-to-one printing without depending on a shared network.
Advantages Of Direct Ethernet Connections
- Stable Connection: Unlike Wi-Fi, which can drop signals, enjoy uninterrupted communication between your laptop and printer.
- Fast Printing: Ethernet delivers faster data transfer, making it ideal for printing large files quickly.
- No Wi-Fi Needed: Great for homes or offices without internet access or when Wi-Fi is down.
- Easy Setup: Setting up is straightforward and requires just a few steps—no need for advanced technical skills.
- More Secure: Ethernet reduces the risk of hacking or interference, offering a private, direct connection.
What You Need To Get Started?
Step 1: Check Your Printer’s Ethernet Port
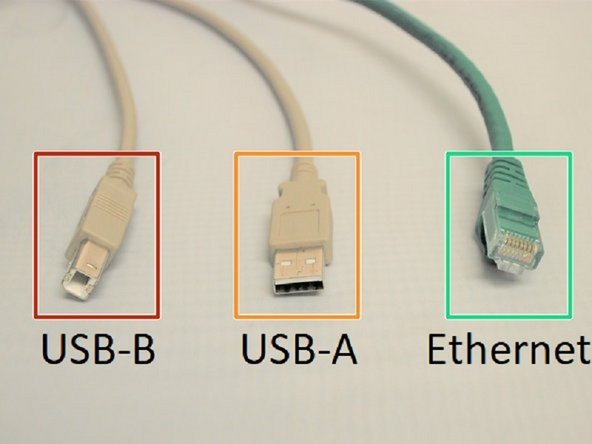
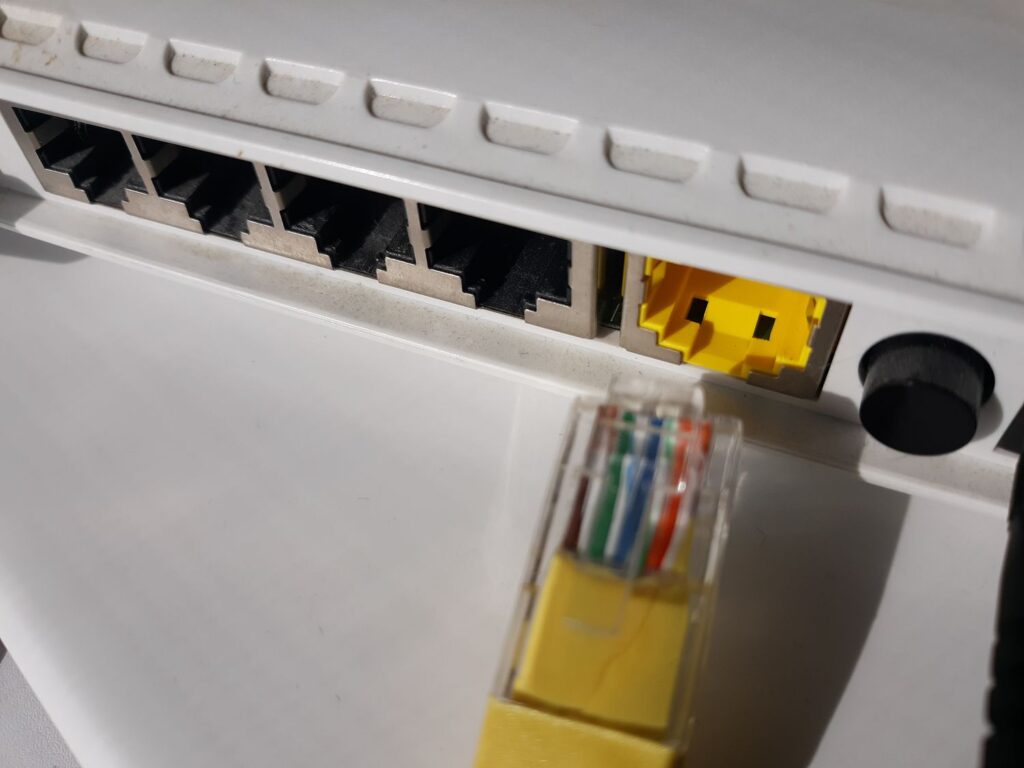
Look for the Ethernet port on your printer, usually at the back. It’s a small rectangular port. If your printer doesn’t have one, this method won’t work, so check your printer’s manual to confirm.
Step 2: Connect The Ethernet Cable To The Printer
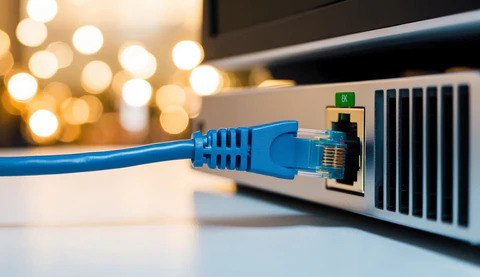
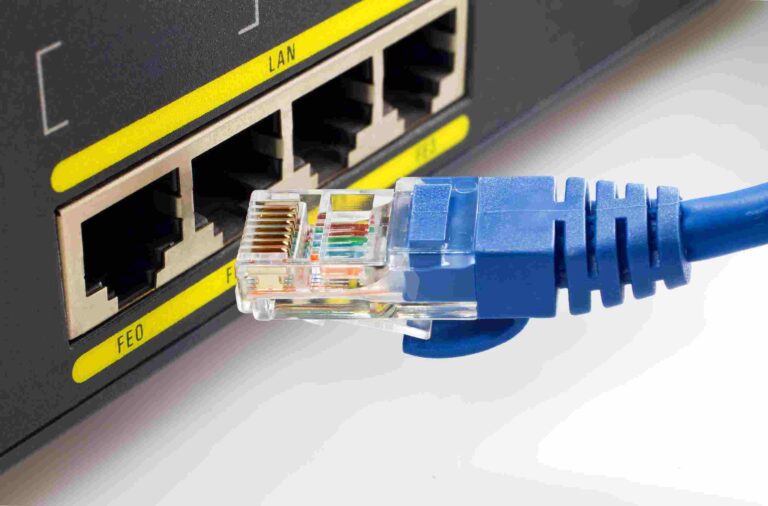
Take an Ethernet cable and plug one end securely into your printer’s Ethernet port. Ensure it clicks into place. This cable will act as the direct connection between your printer and laptop.
Step 3: Plug The Ethernet Cable Into Your Computer
Connect the other end of the Ethernet cable to your laptop’s Ethernet port. If your laptop lacks this port, you can use a USB-to-Ethernet adapter. This establishes a direct communication line for printing.
Step 4: Manually Set The Printer’s IP Address
Access your printer’s settings menu and assign a static IP address. Ensure it’s in the same range as your laptop’s IP address. For instance, if your laptop uses 192.168.1.10, assign 192.168.1.20 to the printer.
Step 5: Configure Your Computer’s Network Settings
Go to network settings on your laptop and set a static IP address that matches your printer’s range. This step ensures the printer and laptop communicate directly without needing a router.
Step 6: Install The Printer Driver On Your Computer
Download the correct printer driver from the manufacturer’s website. Follow the installation instructions, selecting the Ethernet connection option when prompted. This driver helps your laptop recognize the printer.
Step 7: Test The Printer Connection
Print a test page to confirm everything works. If the page prints correctly, your setup is complete. Double-check your cable connections, IP settings, and driver installation for errors if not.
Troubleshooting Common Issues And Their Solutions
1. Issues
- The laptop does not detect the printer.
- IP address conflict between printer and laptop.
- Driver installation fails.
- The printer is not printing despite being connected.
2. Solutions
- Printer not detected: Check if the Ethernet cable is securely plugged in. Restart both the printer and laptop.
- IP address conflict: Ensure both devices have unique IP addresses. Double-check that they are in the same range.
- Driver installation fails: Download the latest driver from the printer’s website and install it again.
- Printer not printing: Check the printer queue for errors, ensure paper and ink are available, and restart the printer.
When To Use This Setup Without A Router
Use this setup when you don’t have a router or Wi-Fi, like in remote areas or temporary workspaces. It’s also useful when you need faster, more secure printing without worrying about internet issues. This method gives a direct, reliable connection for printing without needing wireless networks.
How To Connect Printers Via Ethernet Cable Without Router Windows 7?
Plug the cable into both devices to connect a printer via Ethernet cable on Windows 7. Set matching static IP addresses for the printer and laptop. Install the printer driver and select the Ethernet option. Print a test page to ensure everything is working correctly.
How To Connect Printers Via Ethernet Cable Without Router Windows 10?
On Windows 10, connect your printer and laptop with an Ethernet cable. Assign static IP addresses to both devices. Download and install the correct printer driver.
During installation, choose the network connection option. Print a test page to confirm the setup is complete and functioning.
How To Connect A Printer With Ethernet Cable?
To connect a printer with an Ethernet cable, plug one end into the printer’s Ethernet port and the other into your computer’s Ethernet port.
Make sure both devices have matching IP addresses. Install the necessary printer drivers and select the Ethernet option. Then, print a test page to check the connection.
How To Connect A Printer Via Ethernet Cable Windows 10?
On Windows 10, plug the Ethernet cable into the printer and laptop. Set matching static IP addresses on both devices. Download and install the printer driver.
During setup, select the Ethernet connection option. After installation, print a test page to ensure the connection works properly and the printer is ready.
How To Connect A Printer Via Laptop Ethernet Cable Without Router?
To connect a printer to your laptop without a router, use an Ethernet cable. Plug one end into the printer and the other into your laptop.
Assign static IP addresses to both devices. Install the printer driver on your laptop, select the connected printer, and test the connection by printing a test page.
How To Connect A Printer Via Ethernet Cable Without A Mac Router?
On a Mac, connect your printer using an Ethernet cable by plugging one end into the printer and the other into the computer.
Set static IP addresses for both devices. Install the printer driver from the manufacturer’s website. Choose the printer from the network list, then print a test page to ensure the connection is successful.
How To Connect An HP Printer With An Ethernet Cable?
To connect your HP printer using an Ethernet cable, plug one end into the printer’s Ethernet port and the other into your computer’s port. Set matching static IP addresses for both.
Install the HP printer driver, select the Ethernet connection, and print a test page to confirm everything is set up properly.
What Type Of Ethernet Cable Do I Need For This Setup?
You can use various Ethernet cables for this setup, such as Cat5, Cat5e, Cat6, or Cat6a. Cat5 works for up to 100 Mbps, while Cat5e and Cat6 support faster speeds (1 Gbps and 10 Gbps, respectively). Choose the cable based on your desired speed and printer connection needs.
How To Connect Printer Via Laptop Ethernet Cable Without Router Windows
Plug the cable into both devices to connect a printer via Ethernet cable on Windows. Set static IP addresses for each, install the printer driver, and select the network connection during installation. Finally, print a test page to confirm.
How To Connect Printer Via Laptop Ethernet Cable Without Router USB
You cannot directly connect a printer via Ethernet to a laptop using USB. Instead, use an Ethernet cable to connect the devices, configure static IP addresses, and install the printer driver. If you only have a USB port, use that directly.
How To Connect Printer Via Laptop Ethernet Cable Without Router Mac
On a Mac, connect the printer and laptop using an Ethernet cable. Set matching static IP addresses for both. Install the printer driver and select the network option during installation. Afterward, print a test page to ensure proper setup.
How To Connect Printer With Ethernet Cable
To connect a printer using an Ethernet cable, plug one end into the printer and the other into your computer. Set static IP addresses for both devices and install the printer driver. Test the connection by printing a document to verify.
Connect Printer To PC With Ethernet Cable Without Router
To connect a printer to your PC via Ethernet without a router, plug the cable into the printer and the computer. Set static IP addresses for each device and install the printer driver. Then, print a test page to confirm the connection.
How To Connect HP Printer With Ethernet Cable
To connect an HP printer with an Ethernet cable, plug one end into the printer and the other into your computer. Assign matching static IP addresses, install the HP printer driver, and select the network connection. Finally, print a test document.
Printer To Ethernet Cable
To connect your printer to an Ethernet cable, locate the Ethernet port on your printer, plug one end of the cable in, and connect the other to your computer. Ensure both devices have matching IP addresses and install the printer driver. Test the connection by printing.
FAQs
1. How to Connect Printer via Ethernet Cable with No Router?
To connect a printer via Ethernet without a router, plug the cable into both devices, set static IP addresses, and install the driver.
2. How to Set Up a Network Printer for 4 PC without Internet Connection?
Connect the printer directly to each PC via Ethernet. Set static IP addresses for each PC and install the printer driver on all.
3. Local Printer Connection via Ethernet TCP/IP
To connect via TCP/IP, plug the Ethernet cable into the printer and PC. Assign static IPs, install the driver, and print.
4. Can I Connect a PC Through a LAN Cable Without Internet Access to a Printer to Print Documents?
Yes, connect the printer and PC with a LAN cable, assign static IP addresses, and install the printer driver to print without internet access.
5. How Can You Connect a Laptop to a Wireless Printer Without Using an Ethernet Cable or USB Port on Either Device?
Connect the laptop to the printer’s Wi-Fi network, install the printer’s driver, and select the printer from your laptop to start printing.
Conclusion
In conclusion, connecting a printer via a laptop Ethernet cable without a router is simple and efficient. With just a few steps—setting IP addresses, installing drivers, and configuring network settings—you can enjoy fast, reliable printing without needing Wi-Fi or a router.